



How to pitch a tent: Steps and tips
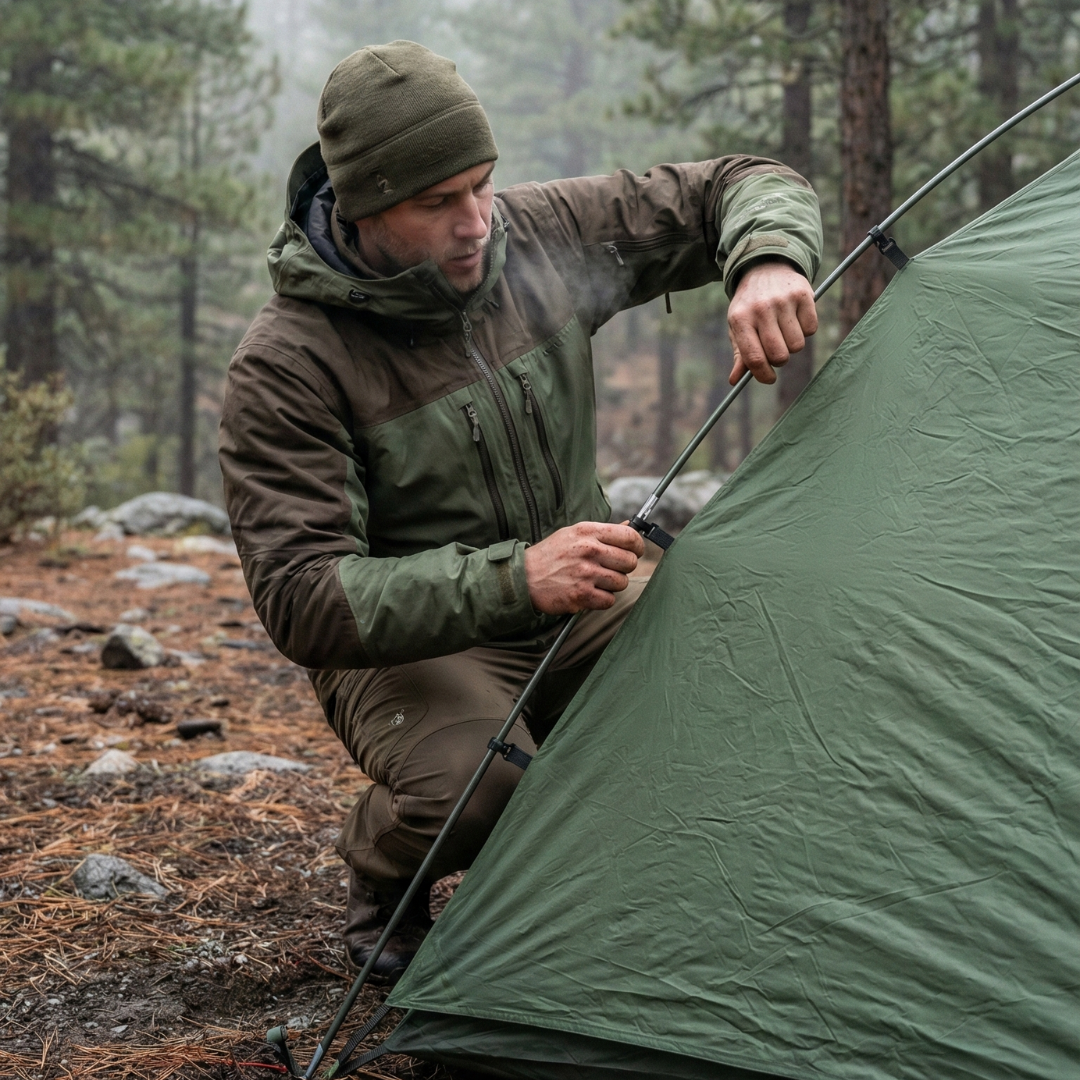
Setting up a tent might look easy when you see it in a 30-second video, but when you get to the field, the wind blows a bit, and the poles start acting up, it's a different story. I don't want you to go through what almost all of us experienced on our first night of camping, so I'm going to guide you step by step.
Let's see how to set up a tent in a simple, practical, realistic, and frustration-free way. Imagine we're together, in the middle of the forest, with plenty of time to enjoy the process. And if you don't have a tent yet or want to upgrade your gear, here's a selection of models in the tent store.
In this guide, I'll tell you how to set up a tent step-by-step, what mistakes to avoid, and what tricks work on all terrains. I promise that by the end of the article, you'll be setting up a tent faster than many people who have been camping for years.
Choosing the right spot to set up a tent
Before opening the bag, take a deep breath and look around. It seems obvious, but choosing the right spot is what most influences your rest. When you're going to set up a tent, the first thing you should look for is truly flat ground. That "I think it's level" usually turns into a night sleeping at an angle.
Look for a place with these characteristics:
-
Ground without rocks, roots, or branches that will dig into your back.
-
Some natural protection from the wind, like a bush or a large rock.
-
Reasonable distance from any watercourse, even if it's dry.
-
No dead branches or leaning trees overhead, for safety.
If you are in a mountain area, I recommend paying attention to natural drainage. When it rains, water follows very specific paths, and if you pitch your tent in its trajectory, the night can turn into a very wet experience.
How to set up a tent step-by-step
Let's get to the process. This is where you'll really learn how to set up a tent without stress. Remember that the more organized you start, the easier everything will be afterwards. Imagine we're opening the bag together.
Prepare all the materials
Open the bag and lay out the contents on the ground. You'll see poles, stakes, the inner tent, the rainfly, and guy lines. Before trying to set up a tent, I recommend you spread out the material so you can see everything. This greatly reduces typical mistakes, like looking for a stake that was under the tarp or assembling a pole the wrong way.
Spread out the inner tent on the ground
When it's time to set up a real tent, the first thing to do is spread out the inner tent. Lay it out completely flat. Take a couple of minutes to orient the door correctly. Personally, I prefer it not to face the wind, but to face a nice open space. Those first views upon waking matter more than you imagine.
Assemble the poles
Join each section of the poles until the structures are complete. Most tents use flexible poles that cross to form an X. Don't force anything; if a pole doesn't seem to fit, check the other end. The key to setting up a tent without problems is to understand how its "skeleton" is formed.
Insert the poles into their sleeves
Insert each pole through the fabric sleeves or upper hooks of the tent. Little by little, you'll see it take shape. This is the most satisfying moment, because you feel that setting up a tent isn't as complicated as it seemed. Suddenly, it stops being a canvas on the ground and starts to look like a real shelter.
Secure the corners
Once the structure is up, attach the ends of the poles to the attachment points at the corners. Adjust the tension slightly so that the shape is uniform. If you want to set up a solid tent, this step is fundamental. A good base is everything.
Stake down the tent
Take each stake and drive it into the ground at a 45-degree angle outwards. This ensures greater resistance to wind. If you're on hard ground, use a rock as a hammer. Remember that if you want to set up a tent securely, stakes are your best allies.
Attach the rainfly
The rainfly is essential if you want to avoid dampness or rain. Place it over the structure, attach it to its corresponding points, and adjust the tensions. Here you can see the difference between setting up a tent haphazardly and doing it thoughtfully. A well-pitched rainfly protects and ventilates.
Tighten guy lines and adjust details
The guy lines provide the tent's final stability. If it's windy, tighten them well; if it's calm, loosen them a bit to avoid nighttime noises. On long camping trips, check tensions daily. The weather changes, the fabric moves, and so does the structure.
Practical tips for setting up a tent without fail
Over the years, I've learned certain tricks that always work. Here are the best ones for setting up a tent like an expert:
-
Avoid setting up in a rush. It's the most important moment of the camping trip.
-
If it's raining, set up the rainfly first if your model allows it.
-
Always carry extra stakes; they are small, but critical.
-
Practice at home. Yes, in the living room. It never hurts to understand the process without wind or nerves.
-
Don't store a wet tent. This is vital for it to last.
If you apply these tips every time you set up a tent, the process will become faster and more efficient.
Tent care and maintenance
A well-cared-for tent will last you for years. After setting up and using your tent, shake it out well before packing it away. If it's damp, let it dry completely. Zippers also appreciate occasional cleaning. And if a pole gets damaged, replace it as soon as possible so it doesn't compromise the entire structure on your next outing.
Frequently asked questions about setting up a tent
How long does it take to set up a tent?
Usually between 5 and 10 minutes when you know your model.
Is it difficult the first time?
Only if you improvise. Following these steps, it's very simple.
Should I always use the rainfly?
Yes, unless you are indoors or under a very stable shelter.
Can I set up a tent without stakes?
Only if you are on very soft ground or surfaces like wood. In nature, it's always better to use stakes.
Conclusion
Now you know how to set up a tent safely, quickly, and stress-free. The next time you head out to the field, you'll enjoy the process and won't get frustrated with it. And if you want to upgrade your travel shelter, check out the Young Wild Hunters tent collection, where you'll find models designed for real adventures.