


How to set up a trail camera step by step?
Setting up a trail camera can seem complicated the first time: menus, sensitivity, night modes, cards, passwords... But don't worry, once you understand the key steps, everything falls into place. Today, I'll guide you through setting up a trail camera without hassle, without wasting time, and getting your equipment ready to accurately capture animals.
If you don't have one yet or want to upgrade your setup, here's a selection of trail cameras that work for both wildlife and rural security.
Before you start: what you need to set up a trail camera
Before we get into how to set up a trail camera step-by-step, make sure you have:
-
SD card (preferably Class 10, 16–32 GB)
-
Good quality batteries or a rechargeable battery
-
Mount or strap to attach it to a tree
-
Manual for your model (details vary by brand)
A very common mistake is arriving in the field without an SD card or with old batteries. Believe me, we've all been there.
How to set up a trail camera step-by-step
Let's get to the important part. I'll explain how to set up a trail camera realistically, as if we were together on the farm or in the woods.
Powering on and entering setup mode
Insert the SD card, put in the batteries, and turn on the camera in “SETUP,” “MENU,” or “CONFIG” mode, depending on your model. Don't set it to “ON” yet.
Adjusting date and time
It seems basic, but it's critical. If you don't set the date, you won't know when each animal passed by. Configure:
-
Exact date
-
Actual time
-
Format (24h or 12h)
Choosing mode: photo, video, or mixed
If your goal is to observe movement patterns, choose photo.
If you want to analyze behavior, video is better.
And if you want both, mixed mode works great.
PIR sensor sensitivity
The sensor detects motion and heat. This is part of the trick to setting up a trail camera correctly:
-
High: small animals or cold areas
-
Medium: general use
-
Low: hot areas or areas with lots of moving vegetation
If you set high sensitivity in windy areas, you'll get hundreds of false alarms.
Interval between captures
Set an interval so the camera doesn't shoot every second.
Most common:
-
5–10 seconds for travel routes
-
15–30 seconds for bait stations
-
1 minute or more for surveillance
Number of photos per trigger
Many cameras allow "burst mode": 1, 2, 3 or more images per detection.
Three photos per event is usually ideal: not too many, not too few.
Image quality
Set the highest possible quality. Current SD cards handle high-resolution photos well. For video, set to 1080p if you want a balance between quality and battery life.
Night mode
Infrared can be:
-
Low glow (more discreet, less range)
-
Medium (balanced)
-
High (maximum distance, but more visible)
If you want to be inconspicuous, choose low or medium.
Password and security
Many models allow a password. This is where the secondary keyword comes in: how to unlock a trail camera.
If you activate a password:
-
Write it down on your phone
-
Don't use obvious numbers
-
If you forget it, unlocking usually requires a factory reset or contacting the brand
(It depends on each model, there is no universal method to unlock a trail camera).
Where to place the camera: crucial part
A good setup is useless if you place it incorrectly. Do this:
-
60–90 cm high for wild boars
-
1.20–1.50 m for deer and roe deer
-
Always facing north to avoid sun washout
-
Never in front of thickets with a lot of movement
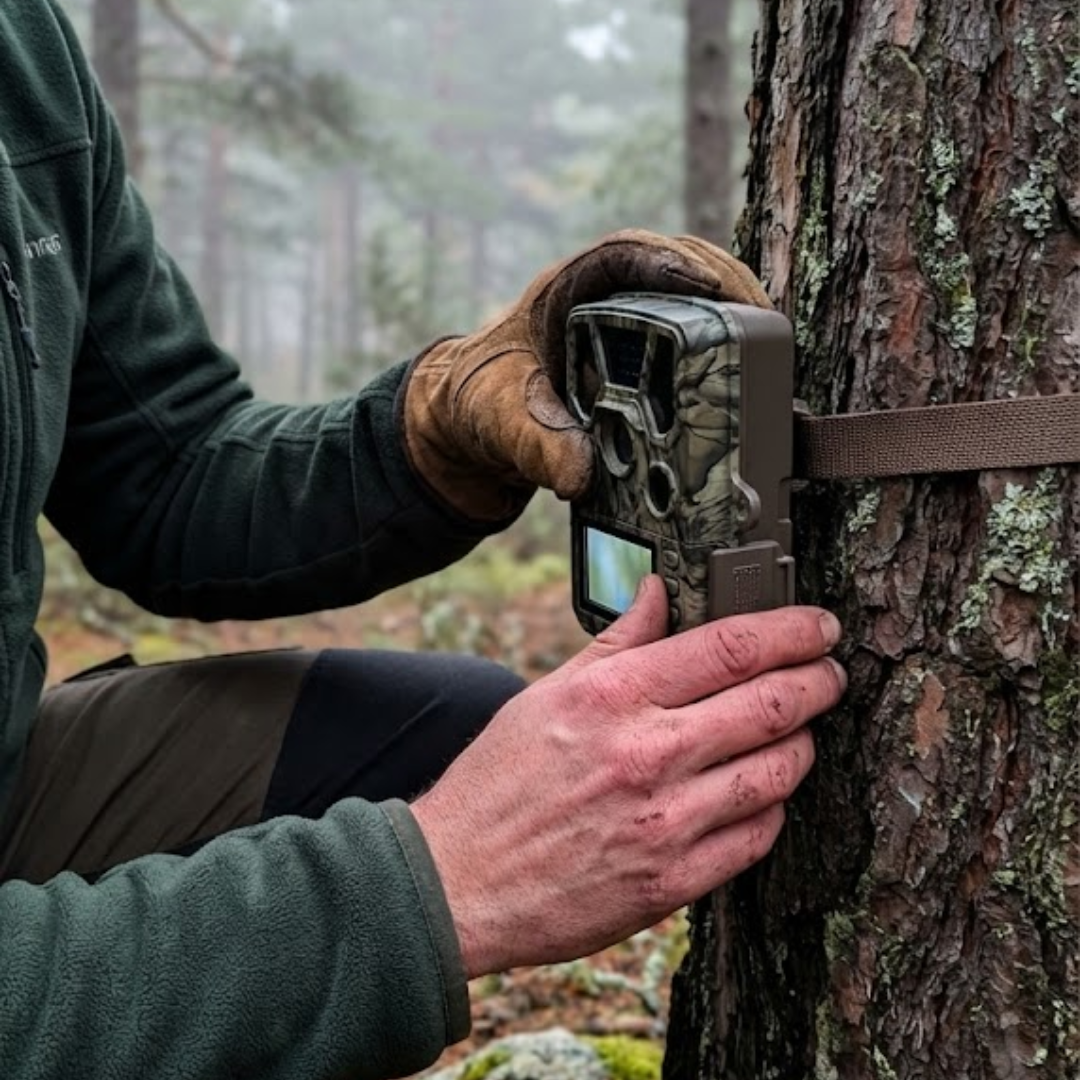
-
Secure the camera with a strap or firm mount
Setting up a trail camera is half the job; placing it correctly is the other half.
Final test: don't leave without checking
Before leaving it to work:
-
Stand in front of it to check detection
-
Review a test photo on the screen
-
Activate “ON” mode
-
Make a couple of movements to verify it records correctly
Never install and leave without a real test. Avoid wasted trips.
Maintenance and extra tips
-
Format the SD card from the camera itself when possible
-
Check batteries every 15–30 days
-
Gently clean the sensor and IR
-
Avoid prolonged direct rain
-
Store cards in protective cases
Setting up a trail camera is easy once you practice, but regular maintenance is what keeps it reliable all season.
Frequently asked questions
How long do batteries last in a trail camera?
It depends on the cold, video usage, and sensitivity, but it's usually between 1 and 8 weeks.
Does the SD card matter?
A lot. A slow card can cause you to miss captures.
Can I review photos from my phone?
If your camera is 4G or WiFi, yes. Many apps allow real-time photo viewing.
Conclusion
Now you know how to set up a trail camera step-by-step: settings, sensitivity, video, password, placement, and final tests. Mastering these details will allow you to get clear images, without false alarms, and with the information you're really looking for.
If you want to upgrade your equipment or look for more modern models, here's a selection of Young Wild Hunters cameras ready for any terrain. Shall we get it ready for your next outing?